-
Showing posts with label Sewing. Show all posts
Friday, November 18, 2011
Handmade Holidays: Softies to Sew
Softie toys are great personalized gifts to make for your youngest friends and family members. Handmade softies are also very green and inexpensive to make, since you can use fabric from your scrap bin. Here's a few of my favorite free patterns and tutorials from around the blogosphere.
Oopsie the Octopus
Pointy Kitty
Scrappy Owl
Lucy Goosey
Mooshy Belly Bunny
Plush Duck
Mermaiden
Felt Goldfish
Puppy Plush
Matryoshka Doll
Hedgehog
Softie Whale
Sheep Softie
Wednesday, June 22, 2011
Tutorial and Pattern: Tea Towel Hat
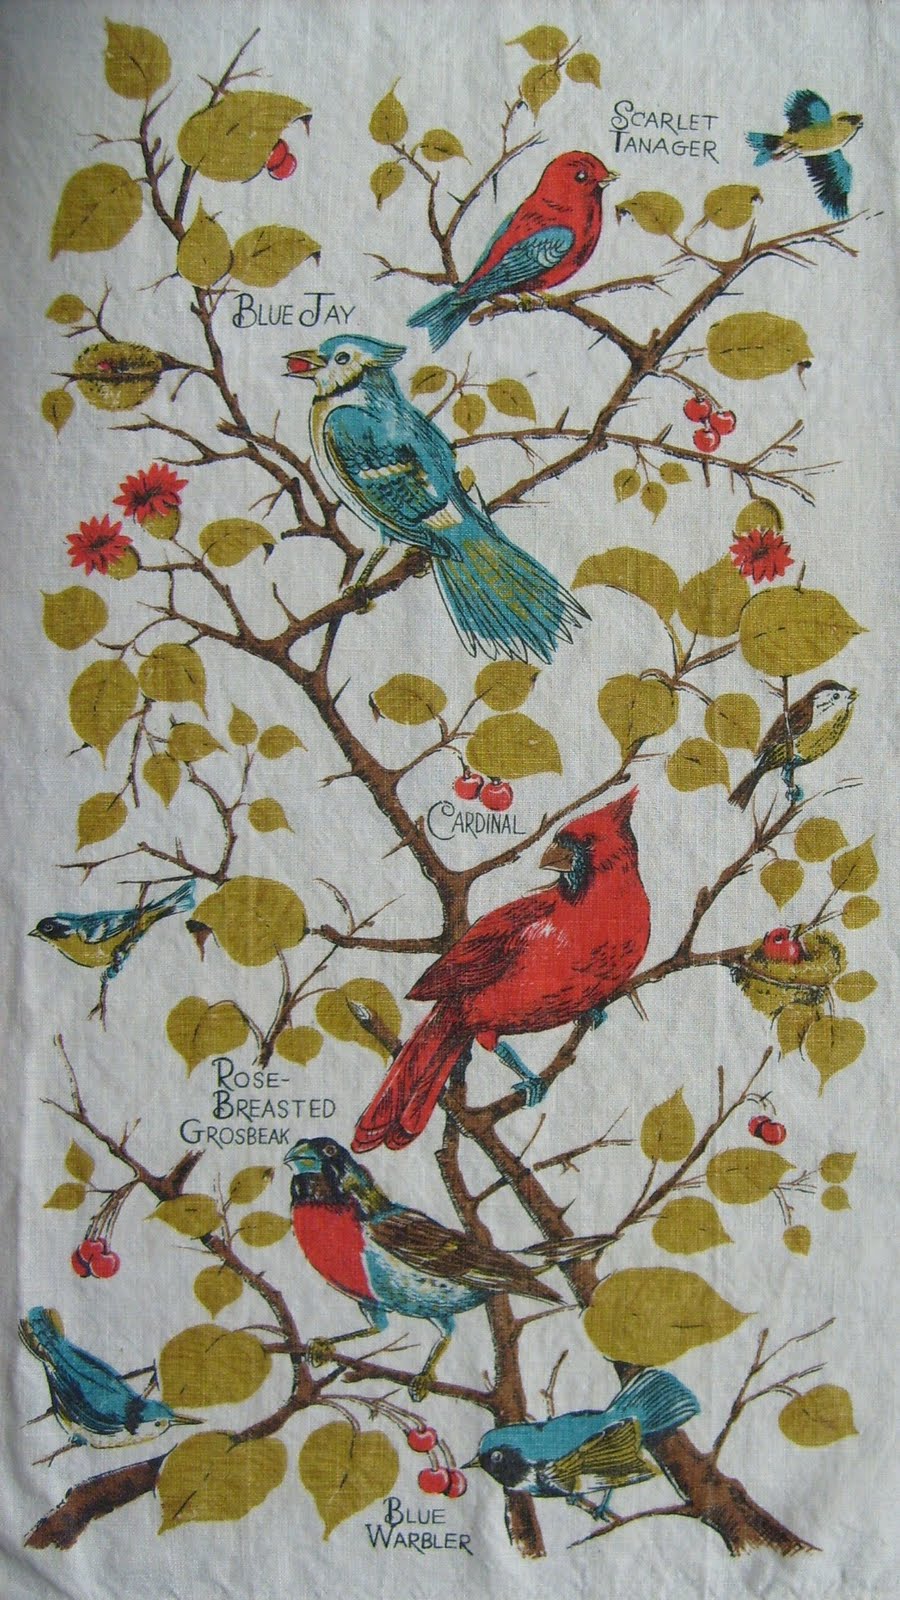
I made a new hat pattern and created this version out of a super cute vintage tea towel with various songbirds on it. Obviously, there is no need to use a tea towel, any old fabric will do, but the pattern does cut out with very little waste from a standard sized tea towel and if you use a medium to heavy weight linen one it has just enough stiffness to make the hat hold it's shape well.
Here's how to make your own:
Cut out the pieces using the pattern embedded at the bottom of this post. Use a fabric that is a bit lighter weight for the lining. Seam allowance for all seams is the width of the presser foot.
Place the two brim pieces right sides together and sew up the side seams. Place the two crown pieces right sides together and sew up the side seams. Press seams flat and turn. Repeat the process with the lining pieces.
Insert the crown inside the brim as shown in the illustration. Pin and sew together with one continuous seam. Repeat process with lining pieces.
Pin the top of the hat to the crown. Sew together. Repeat with the lining, except leave a 3 inch gap in the seam (be sure to back stitch at beginning and end because you will be turning the whole hat through this opening which will cause the seam to unravel if you don't back stitch).
Placing the right sides together (lining should be inside out and the hat right side out) fit the hat inside the lining. Pin all the way around the brim. Sew the lining brim to the hat brim with one continuous seam.
Turn the hat right side out through the gap you left in the lining. Stuff the lining inside the hat. Press carefully. If you want, you can top stitch around the brim to give it extra stiffness and to keep the edge neat. I didn't do that, but you may find that the fabric you use needs it.
Tea Towel Hat Pattern
Friday, June 17, 2011
Tutorial: Bathtowel Beach Bag
Click to view any image larger.
I made this beach bag out of a cute vintage bath towel and some vintage woven macrame cord. This is a super quick and easy project and when you return from the beach, you can just throw the whole thing in the washer instead of trying to shake/wipe sand out of the bottom of your beach bag (never a task I've enjoyed very much).
Monday, May 9, 2011
Interview with K of Fog and Swell
All images this post belong to K.V. Pederson and are used by permission.
This week I'm very pleased to be interviewing K of Fog and Swell. I first discovered K's beautiful whales on Etsy and then discovered her blog. There are also more images of her work on her flickr account and her Facebook. If you are a knitter, K has designed a couple of lovely hat patterns which are linked in the right sidebar of her blog.
Elizabeth: You live on Vancouver Island (which I visited last summer and have to say is now on my list of favorite places). Can you tell us about the island and some of your favorite places on it?
K: Vancouver Island can sort of be divided into sections, with the south and east parts of the island being the most developed and populated, while the north and west sides are where it gets a bit wilder, more isolated, in large part due to the increasingly rugged landscape and difficulty of access. Those wild parts are my favourite: the wave-scoured open beaches of the west coast areas such as Tofino and Cape Scott, and the maze of islands and turbulent tidal waters that make up the Johnstone Strait area. When I feel the lure of the mountains, Strathcona Provincial Park has many trails to explore. Once you get outside the larger centres, there are lots of neat small towns too.
I live in the Comox Valley on the east side, which has a nice balance of arts and culture (and let's be honest, more amenities and work), but also offers easy access to to wilderness areas for hiking, mountain biking, skiing, boating and more.
Elizabeth: Sea life is obviously a big inspiration for your work. How and when did you start sewing sea creatures?
K: I started making the sea creatures last summer. I was already making art quilts showing west coast landscapes, and I started thinking about bringing some of those coastal elements to life in a three-dimensional way. There are many amazing soft sculpture artists out there, but I thought maybe I could bring a unique perspective to the animals of the coast that I call home. My first one was a humpback whale, which is somewhat my signature creature and definitely the one people seem to respond to the most. I hadn't seen anything like it, so I thought I would see where it would go.
Elizabeth: You seem to work within a fairly disciplined color palette. What draws you to the color blue?
K: The many shades between blue and grey kind of capture how I view the exposed and weathered coast that inspires me. I am also inspired by traditional Japanese boro textiles, the layers of indigo fabric blended together through the intensive stitching. I think this is partly what got me started using old jeans in my work - the myriad of blues reminds me of the traditional indigo, and I love the feel and look of the well-loved fabric.
Recently I have been trying to branch out a bit more with colour - what looks like a wash of grey-blue when looking at the larger coastal landscape reveals a bright rainbow of colour when peering into tide pools and under rocks.
Elizabeth: You use a lot of recycled textiles in your pieces. How do you choose your raw materials and where do you find them?
K: Boro is also in line with my desire to use what i have. Over the years I have accumulated lots of little treasured scraps, and I start there first. I might go to the thrift store with starfish in mind and luck out with a purple wool skirt, or get leftover silk or linen scraps from another maker. I love natural fibres - linen, cotton, wool, silk - and while I try to use repurposed textiles or scraps that might otherwise be thrown away, I will also buy new if there is something that jumps out at me.
Elizabeth: Can you tell us a little about the process of designing your three dimensional pieces (they look so realistic!)?
K: Thanks! I am lucky enough to have seen a lot of the animals I make in real life, but I find my stack of reference books to be infinitely helpful in getting a good idea of a creature and its particular characteristics. I also use Google images to see different views and variations. After that I usually sketch out a rough profile, and determine how best to break it into pattern pieces to create a three dimensional item. With something like my barnacles, I just had a really clear mental picture of what I wanted and so I started cutting and sewing with no pattern at all. But others take a bit more time; a recent dolphin I made has three failed prototypes preceding it - it took a while to get a shape I was happy with.
Elizabeth: Other than textile art, what other art or craft mediums do you enjoy?
K: It's been speculated that my camera is permanently attached to my hand, especially when out exploring, so photography is probably my biggest interest. I also knit a lot, quilt, sew clothing, weave, draw...unfortunately I'm never short of hobbies and ideas, just time! maybe someday I'll be able to do handmade art full time, but for now I also work full time as a graphic designer.
Elizabeth: What is your idea of a perfect day?
K: Camping on a beach in the middle of nowhere with my boy, listening to the waves crash, exploring a remote stretch of shoreline with camera in hand and shells jingling in my pockets, watching a bear and cubs explore the beach or looking for whale spouts on the horizon, listening for the calls of ravens and eagles in the treetops...
Thank you, K!
Thank you, K!
Labels:
Featured Artists/Craftspersons,
Interviews,
Sewing
Thursday, April 21, 2011
Refashion Tutorial: Man's long sleeved T-shirt to Loopy and Skinny T
I made this skinny t-shirt out of an old boxy men's long sleeved t-shirt that had seen better days and was in my husbands "things to send to Goodwill" bag. I'm not sure that Goodwill would have been too pleased to receive it, but after cutting it down and adding strips cut from the sleeves strategically placed to hid the holes and the stains, I'm pretty pleased with it.
Here's the How-to:
This is what I started with.
Cut of the sleeves and the ribbing at the neck. Even if you think you want a deeper neckline, wait to trim any extra until later.
Use a t-shirt with a fit you like as a pattern. Allow a little extra for the seam allowance. Note to those with curvy figures: If your pattern t-shirt is shorter than the t-shirt you are refashioning, make sure that you leave adequate room to accommodate your hips. I didn't think of that, and mine is a bit tight.
Cut down the seam of each sleeve so that you have two flat pieces. Trim off the seam area. Make a clip every 2 inches and tear into strips. Make sure to tear strips across the former sleeve (as shown) NOT down the sleeve.
You will have a pile of strips like this.
Firmly stretch each strip to make it curl towards the middle, like this.
Arrange your strips in a pleasing pattern. You build the design as you go, or pin each strip in place before you start sewing.
Use a running stitch to sew the strips to the shirt. When you've finished with your design, gently press the strips.
Put the right sides together, mark the location of the underarm, pin and stitch up both sides to complete the shirt. Use a zig zag stitch and be sure to back stitch at the beginning and end of each seam. Try the shirt on and make adjustments as needed by trimming the "sleeves" or the neckline.
Wednesday, April 13, 2011
Refashion Tutorial: Pillowcase Tote Bag
I made this tote bag from a vintage pillowcase and some scraps of fabric. Here's how I did it:
You will need a standard size pillow case, two 4" x 28"strips of cloth, 6 buttons (optional) and two 6" lengths of rope or heavy felt.
#1: Fold and press the pillowcase as illustrated in the photos. Pin to hold folds in place. Sew a button (or simply hand tack) at the top point of each folded up corner on the front and the back of the bag.
#2: Sew each strip of fabric into a tube. Turn and press. Center a 6" scrap of rope, cord or heavy felt on each handle. Fold the handle over the rope/cord/felt so that the rope/cord/felt is completely covered. Hand stitch the edges of the fabric handle together as illustrated to completely contain the rope/cord/felt. Hand tack at either end of the rope/cord/felt to keep it from slipping out the tube formed by the hand stitching you just made.
#3: Hand tack the handles (positioned as shown) into the side folds of the bag. Stitch through one layer only. Hand stitch down the side of the folded edges until you reach the bottom of original hem of the pillowcase. Hand tack the two sides of the pillow case together on the opposite side of the handles (as shown). Add decorative buttons (optional)
You will need a standard size pillow case, two 4" x 28"strips of cloth, 6 buttons (optional) and two 6" lengths of rope or heavy felt.
#1: Fold and press the pillowcase as illustrated in the photos. Pin to hold folds in place. Sew a button (or simply hand tack) at the top point of each folded up corner on the front and the back of the bag.
#2: Sew each strip of fabric into a tube. Turn and press. Center a 6" scrap of rope, cord or heavy felt on each handle. Fold the handle over the rope/cord/felt so that the rope/cord/felt is completely covered. Hand stitch the edges of the fabric handle together as illustrated to completely contain the rope/cord/felt. Hand tack at either end of the rope/cord/felt to keep it from slipping out the tube formed by the hand stitching you just made.
#3: Hand tack the handles (positioned as shown) into the side folds of the bag. Stitch through one layer only. Hand stitch down the side of the folded edges until you reach the bottom of original hem of the pillowcase. Hand tack the two sides of the pillow case together on the opposite side of the handles (as shown). Add decorative buttons (optional)
Subscribe to:
Posts (Atom)