Wednesday, August 17, 2011

Tutorial: Toilet Tube Pillow Box


Pillow boxes made from toilet paper roll tubes is an idea that's been floating around out there for a while (here, here and here), but it's such a good idea---so simple, so easy and so useful---that I'm revisiting it. 

How-to:
 #1: Flatten a toilet tube. I used a heavy book to press mine flat on the table top. It will still puff up a bit. That's o.k. Use a bone folder or the edge of a ruler to make the side folds crisp.
 
#2: Trace around the rim of a drinking glass (mine was 3.5"/8.5cm across) at each end of the tube. Use the point of bone folder (or the "eye" end of a heavy needle) rather than a pen or pencil.

#3: Trim on the line you traced in step #2.

#4: Create fold line on both ends by tracing around the rim of the glass as shown (again, use the tip of the bone folder, rather than a pen or pencil). Flip the tube over and do the other side.

#5: Fold in the ends. You can secure the ends with tape, glue or stickers.  Or you can use a string or ribbon tie.

PS: I took these plain boxes and painted them with a Native American inspired design. See them over at Nuno. 

Friday, August 12, 2011

Monday, August 1, 2011

Things to Make With Seashells


Wondering what to do with all those shells that keep coming home with you from trips to the beach? Here are a few tutorials for simple things to make and more links to some truly beautiful (and a few bizarre) things made from seashells.

Tutorials:
Seashell Wreath
Seashell Mobile
Seashell Candle
Seashell Nightlight
Seashell Printed Fabric
Seashell Garland
Seashell Soap Dish
Seashell Necklace
Seashell Chandelier

Inspiration:
Everything Seashell
Antique Seashell Jewelry
This Little Collection
Painted Fragment
Grottoes and Shell Houses

Thursday, July 28, 2011

Tutorial: Macrame Button Ring


I have a little collection of antique buttons so I decided to combine a few of them with macrame to make a little ring. Here's how I did it:  


Cut two pieces of string 14" long. I used #10 bamboo crochet thread. You will also need three shank buttons, one small and two tiny.

Thread one string onto the small button and thread the other onto one of the tiny buttons. Pull through so that the button is at the center of the string.

Thread both tails of the tiny button's string through the hole in the small button.

Choose any tail and thread the remaining tiny button on to it.

When you turn the buttons over, it should look like this.

Check the length as you go along and stop when the buttons and the knotted string are long enough to go all the way around your finger.


Take on of the tails extending from the square knot senet and thread it back through the center button. Pull it tight and knot. Make more knots as needed to make the junction stronger. Clip the tails off and dab the cut ends with clear nail polish. When the nail polish is dry, try the ring on. If the buttons seem a bit "floppy" use a needle and sewing thread through the holes in all of the buttons to draw them closer together and knot securely.   

Wednesday, July 6, 2011

Summer Kid Craft: Ric Rac and Button Bracelet

 
If you sew at all, chances are you have bits of ric rac and odd buttons sticking in your sewing basket that you'd be more than willing to put to good use. This bracelet is a quick and easy project suitable for kids that lends itself to being replicated over and over. Here's how to make a ric rac and button bracelet:
You will need: A needle and thread, 1 inch strip of elastic roughly  twice as wide as your ric rac, two strips of ric rac approx. 8 inches long (smaller kid's wrists can use less) and a large button.

 Twist the ric rac together so it looks like this.

 Sew one end of the ric rac to the strip of elastic. Check to make sure that the bracelet is going to fit. Trim off some ric rac if it seems too big. Sew the other end of the ric rac to the elastic. Sew the button to the middle of the elastic to cover it up. 

Wednesday, June 29, 2011

Tutorial: Thread Wrapped Bangle


A while back, my sister handed down a lovely agate bangle to me that had a crack in it. Although this project could be made with any sort of bangle, it is an excellent way to revamp a damaged bracelet.

Here's how I did it:


Important Note: Before you start, take a strip of double faced tape and carefully adhere it to the inside of the section of bangle you intend to wrap. This step is not shown in the illustrations, but is necessary to keep the thread from unwinding itself, particularly if the bangle is of a slippery polished material.

Cut a length of thread or string approximately 6 feet long. Tie it tightly around the bangle. Move the knot to the inside. Stretch the tail out flat and stick it to the double faced tape. You will be wrapping over the tail in the next step.
 
 Wrap the thread tightly around the bangle, making sure the wrapping is neat, that the threads lie tightly next to each other, but do not over lap.

 When you have about 6" of string left, thread the tail onto a heavy needle and stitch back through a few threads (on the inside of the bangle). Make a knot.
 
Using the needle, draw the remaining tail under about 1/2 inch of wrapped threads, pull the tail through and clip of the end flush with the wrapped threads.


If the threads still feel loose and in danger of unwrapping, you could spread a light layer of clear drying glue across the wrapped threads on the inside of the bangle. 

Wednesday, June 22, 2011

Tutorial and Pattern: Tea Towel Hat


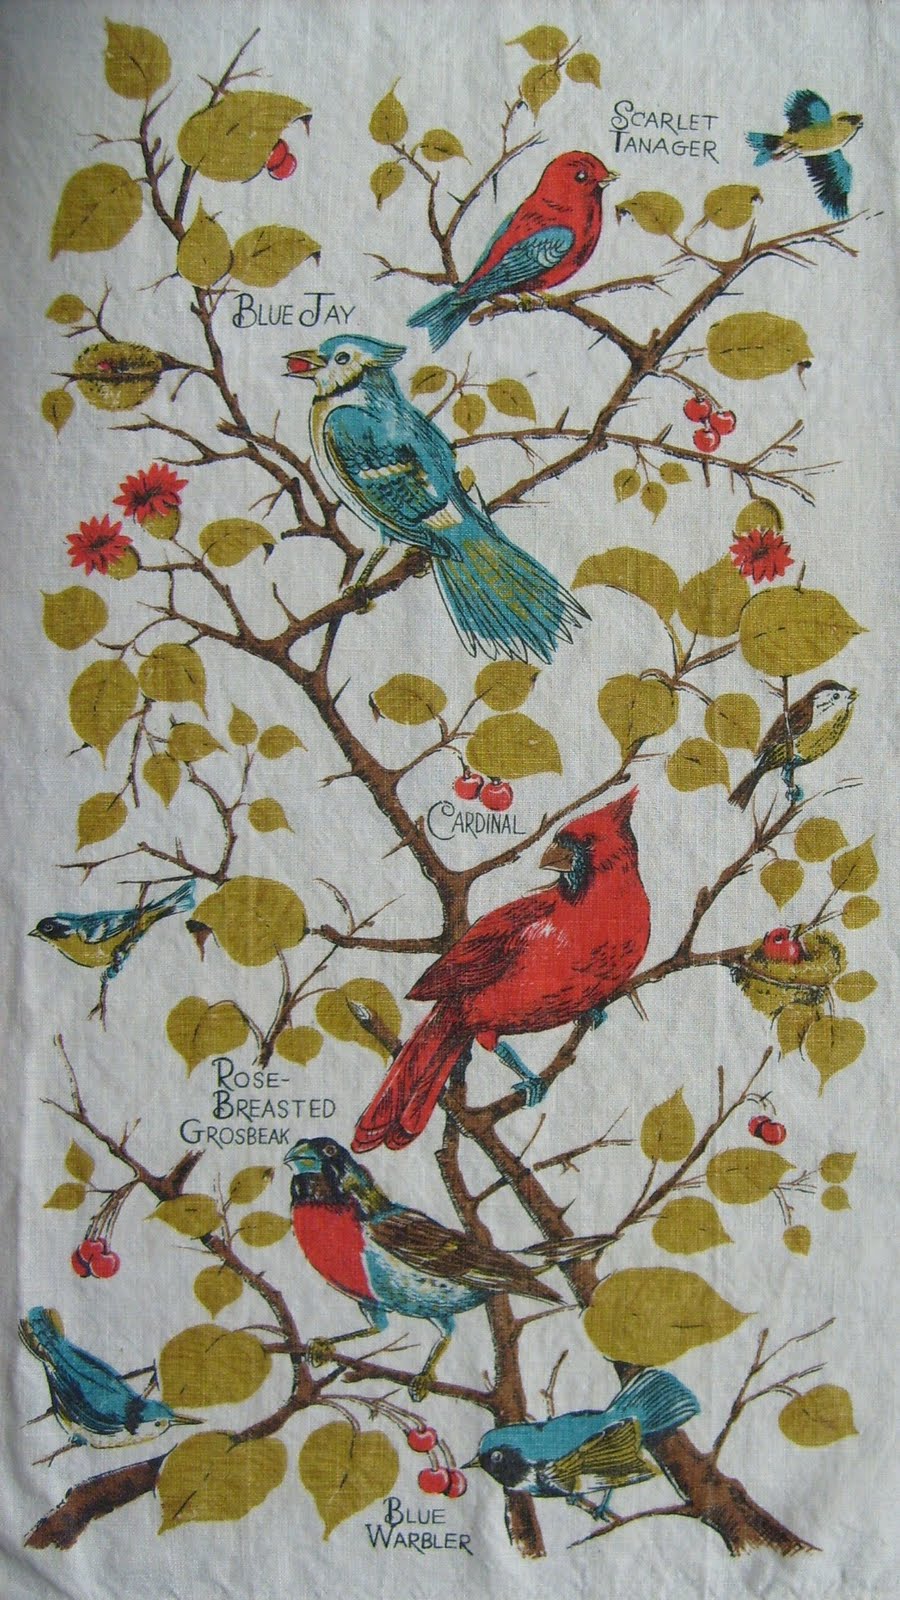
I made a new hat pattern and created this version out of a super cute vintage tea towel with various songbirds on it. Obviously, there is no need to use a tea towel, any old fabric will do, but the pattern does cut out with very little waste from a standard sized tea towel and if you use a medium to heavy weight linen one it has just enough stiffness to make the hat hold it's shape well.

Here's how to make your own:


Cut out the pieces using the pattern embedded at the bottom of this post. Use  a fabric that is a bit lighter weight for the lining. Seam allowance for all seams is the width of the presser foot.


Place the two brim pieces right sides together and sew up the side seams. Place the two crown pieces right sides together and sew up the side seams. Press seams flat and turn. Repeat the process with the lining pieces.


Insert the crown inside the brim as shown in the illustration. Pin and sew together with one continuous seam. Repeat process with lining pieces.


Pin the top of the hat to the crown. Sew together. Repeat with the lining, except leave a 3 inch gap in the seam (be sure to back stitch at beginning and end because you will be turning the whole hat through this opening which will cause the seam to unravel if you don't back stitch). 


Placing the right sides together (lining should be inside out and the hat right side out) fit the hat inside the lining. Pin all the way around the brim. Sew the lining brim to the hat brim with one continuous seam.


Turn the hat right side out through the gap you left in the lining. Stuff the lining inside the hat. Press carefully. If you want, you can top stitch around the brim to give it extra stiffness and to keep the edge neat. I didn't do that, but you may find that the fabric you use needs it.

Tea Towel Hat Pattern